
REVIEW · PHOTOGRAPHY SESSIONS
Tokyo Cyberpunk Street Photo Tour
Neon Tokyo, taught step by step. This 3 hour night photo walk focuses on Shinjuku and Shibuya, where you learn how to capture glowing signs, crowds, and classic night street scenes after dark. You will shoot with a camera or your smartphone, and the goal is simple, make your photos look like you planned them.
I like that the instruction is practical and hands-on, with guides such as Charles and Lukasz using clear camera setting guidance plus easy phone camera techniques. I also like the small size, max four people, so you get real feedback while you practice on the street.
One possible drawback: the pace can feel quick. If you struggle to keep up, you could miss portions, as happened for one guest who ended up getting lost and taking a taxi back.
In This Review
- Key Things I Wouldn’t Skip
- Neon Night Walk: Shinjuku to Shibuya in About 3 Hours
- Price and Value: $184.99 Per Group, Up to Two
- Meeting at Happy Lemon in Nishishinjuku: Start Time and Timing
- Kabukicho After Dark: Signs, Back Alleys, and First Shooting Drills
- Omoide Yokocho Memory Lane: Narrow Lanes and Candid Night Moments
- Shibuya Crossing: Long Exposure Crowd Streaks and Blade Runner Style Energy
- How the Pro Instructor Changes the Night Results (Cameras and Phones)
- What to Bring: Make Sure Your Gear Can Chase Night Light
- Train and Budget Reality: Extra Transit Costs
- Pacing and Crowds: The One Thing to Watch
- Who This Tokyo Cyberpunk Photo Tour Fits Best
- Should You Book This One?
- FAQ
- How long is the Tokyo Cyberpunk Street Photo Tour?
- What time does the tour start?
- Where do you meet and where does the tour end?
- Can I use a smartphone for this tour?
- Is admission included for the stops?
- What is included in the price?
- What is the refund policy?
Key Things I Wouldn’t Skip
- Long exposure coaching for turning neon and headlights into clean light trails, not blurry mess
- Shinjuku night streets first, then a direct hit on Shibuya, so your skills build while you walk
- Kabukicho and Omoide Yokocho give you variety, big signage plus narrow alley energy
- Shibuya Crossing timing for crowd streaks and iconic intersection shots
- Smartphone friendly instruction, including help using common phone controls while shooting
- A workshop style flow, with demonstration, then practice so you can actually use what you learn
Someone else behind the camera. Other shoots
- Tokyo Ryogoku Sumo Morning Practice + Photo Shoot with Wrestlers
★ 4.5 · 277 reviews - Tokyo by Night Photography Tour (Private Option Available)
★ 5.0 · 151 reviews - Tokyo Shinjuku Night Photo Tour with Pro Gota
★ 5.0 · 142 reviews - Tokyo Sumo Morning Practice Tour w/ Ring-Side Seat + Photo Shoot
★ 5.0 · 93 reviews
Neon Night Walk: Shinjuku to Shibuya in About 3 Hours
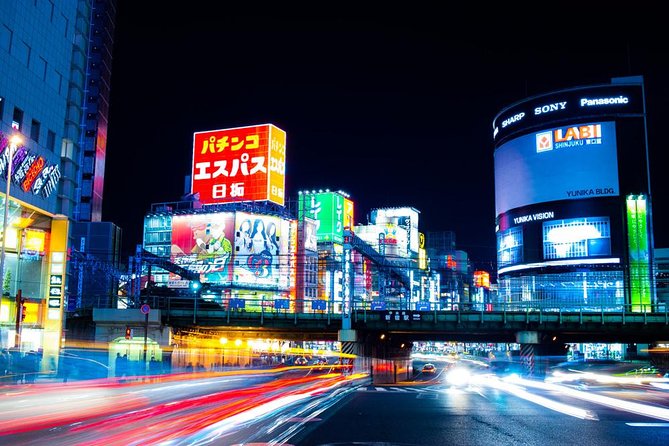
This is a focused evening photo tour built for one thing, getting better results at night. The timing matters. Tokyo after dark has glare, movement, and crowds, which is exactly why night photography looks so good when you know what to change in your settings.
The route is also thoughtfully stacked. You start in the Shinjuku area and work your way to Shibuya, so you are not just chasing landmarks. You are learning how to see, then you practice immediately in settings that match what you want to photograph.
For your brain, it feels like a street photography workshop you can walk through. For your camera, it is a crash course in night light, pacing, and framing.
Price and Value: $184.99 Per Group, Up to Two
At $184.99 per group (up to two people), the price is really about sharing the cost. If you come as a pair, it breaks down nicely compared with the typical expense of hiring private instruction for a single evening.
What makes it feel like good value is what is included. You get a professional photography instructor, plus guided stops in three major night zones. You are not paying extra for admission at the stops either, since the listed areas are free to enter.
Also, the group size is capped at four. That limit is where the money makes sense. With fewer people, the guide can check your composition, help adjust camera settings, and keep you from feeling like you are just walking around with a camera.
Meeting at Happy Lemon in Nishishinjuku: Start Time and Timing
The meet-up point is at Happy Lemon, Keio Shinjuku Shop, Nishishinjuku. Start time is 7:00 pm. The tour ends in Shibuya, near Dogenzaka.
Shinjuku is huge, so timing matters. One guest noted the meeting area can be hard to spot if you are not used to Shinjuku Station. My practical take: arrive early, look for the exact meeting point, and if needed, double-check directions on a map.
If you are the type who hates being rushed, plan to be there a bit ahead of time. The tour runs on a tight evening window, so late arrivals can reduce your shooting time.
- Mt Fuji and Hakone 1-Day Bus Tour Return by Bullet Train★ 5.0 · 26,383 reviews
- 1-Day Tokyo Bus Tour★ 5.0 · 14,250 reviews
- Tokyo: teamLab Planets TOKYO Digital Art Museum Entry Ticket★ 4.6 · 9,779 reviews
- Mt Fuji & Hakone Cruise, Drum Show Bullet Train 1 Day from Tokyo★ 4.0 · 7,413 reviews
- Tokyo: Shinjuku Food Tour (13 Dishes at 4 Local Eateries)★ 5.0 · 6,603 reviews
Kabukicho After Dark: Signs, Back Alleys, and First Shooting Drills
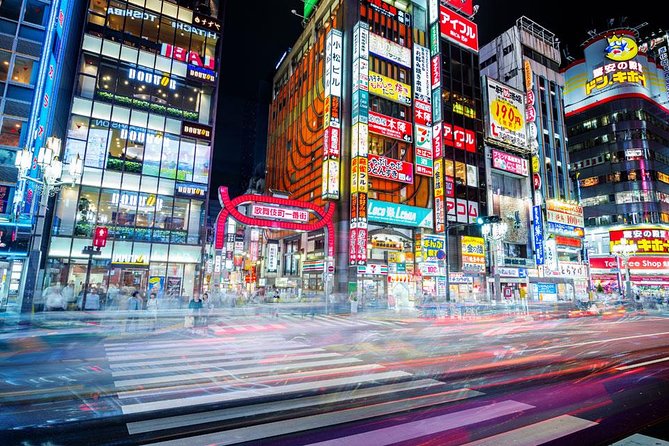
Your first stop is Kabukicho District for about an hour. This is a smart place to start because it is full of strong neon lighting and dense street textures. The guide can work on the basics fast, like how to steady your shot, how to manage exposure, and how to compose with busy backgrounds.
Kabukicho also teaches you an important night photography skill: separation. Tokyo lights can make everything look equally bright, which is why your subject can disappear. In this area, you practice finding visual anchors like storefront edges, signage, and faces in the crowd.
What I like about this first segment is that it gets you shooting quickly. Even if you are new, you get time to try the exact settings the instructor recommends, then adjust based on feedback.
A downside to be aware of: you need to be comfortable moving. Some guests mentioned a fast walking pace. If you want a slow, leisurely photo stroll, this might feel more like guided shooting sprints.
Omoide Yokocho Memory Lane: Narrow Lanes and Candid Night Moments
Next up is Omoide Yokocho Memory Lane for about 30 minutes. This stop is where the tour can feel more story-like. Compared to the big neon show of Kabukicho, Omoide Yokocho is tighter and more intimate, with the kind of lighting that creates contrast and drama.
This is also where street photography becomes more human. You are more likely to frame people, small scenes, and those in-between moments that scream Tokyo at night. The guide’s job here is to help you avoid flat snapshots and instead aim for photos that feel like you caught something real.
Even if you only use your phone, this kind of lane shooting can be a great practice ground. Phones can handle night light well these days, but they still need guidance on what to emphasize and what to ignore in frame.
Shibuya Crossing: Long Exposure Crowd Streaks and Blade Runner Style Energy
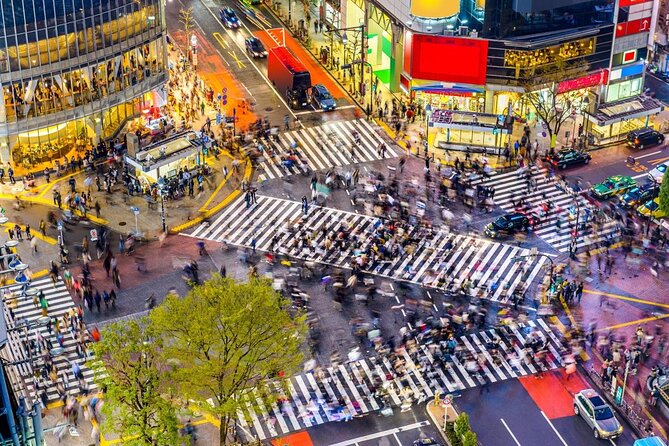
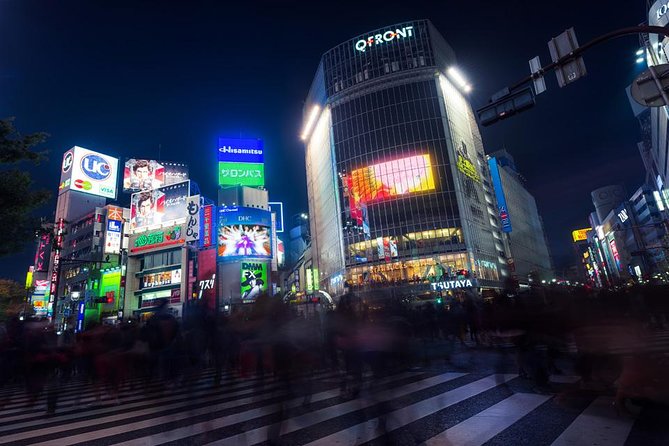
The final major stop is Shibuya Crossing for about 45 minutes, finishing near Shibuya Station. This is the moment most people came for, and it is easy to see why. The scale of the crowd and the intensity of the intersection lighting make for dramatic long exposure shots.
If you love the Blade Runner vibe, this is where it clicks. One of the tour’s selling points is using long exposure techniques to capture the flow of people and the lines of the intersection, rather than trying to freeze chaos with a shutter speed that is too fast.
This is also the best part to experiment. Try a longer exposure for light trails. Try a shorter one for sharper subjects. If your guide works with you during the walk, this is where you can apply that feedback and see immediate results.
How the Pro Instructor Changes the Night Results (Cameras and Phones)
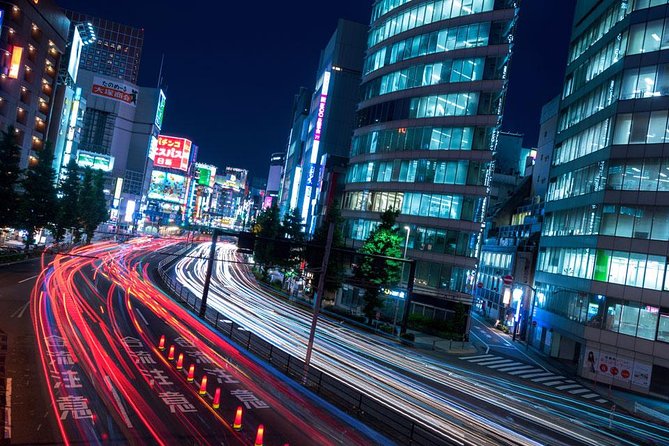
The tour includes a professional photography instructor, and the biggest pattern in the feedback is how hands-on the teaching feels. Guides named in the reviews include Charles and Lukasz, and both styles seem to share the same approach: simple explanations, then practice.
Expect guidance for:
- Camera settings for night streets and long exposure
- Composition tips, like where to place your subject and how to manage a busy frame
- Phone camera technique, so your smartphone is not just a point-and-shoot
One guest described the experience as workshop style, demo first, then practice. That matters because it stops the common problem of knowing a theory but not being able to apply it while you are standing in real street light.
If you are new, that guidance is a relief. Night photography has a learning curve, and the tour gives you a shortcut by telling you what to change now, not after you return home.
What to Bring: Make Sure Your Gear Can Chase Night Light
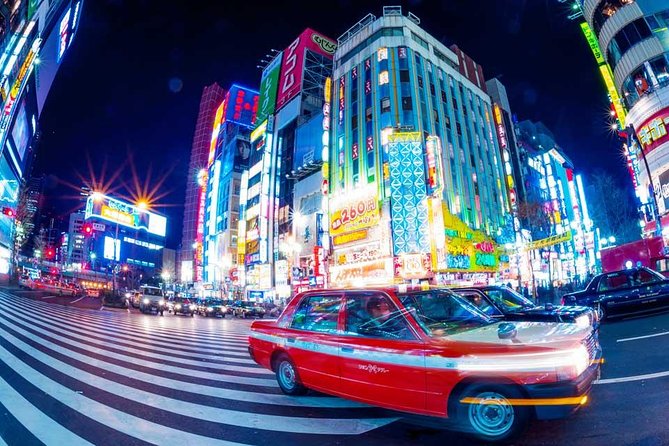
The tour works with camera or smartphone, but your results will improve if you come prepared to control exposure and focus.
From the teaching context and the practical suggestions shared in feedback, here is what I recommend you bring:
- Your smartphone with night mode options if you use them
- A camera that lets you adjust shutter speed and exposure, or at least lets you control focus
- If you use a tripod, bring one or something stable, since long exposures can benefit from steadiness
Even if you do not have those tools, do not panic. The guide can still give you shooting instructions. But having at least some control options makes it easier to turn neon into intentional light trails.
Also, wear shoes that handle uneven sidewalks and fast crowds. This is a night walk with movement between stops, and you will be happier if your feet are ready.
Train and Budget Reality: Extra Transit Costs
The tour includes walking stops, but you should plan for additional local transit. The route description indicates you will journey by train from Shinjuku to Shibuya at your own expense, and bus fare is listed as not included.
So, build a small buffer in your budget for that transit. It is usually the kind of cost you can handle easily, but it is still a cost you should not forget.
The good news is that the meeting point is near public transportation, so you are not stuck with a long pre-tour slog.
Pacing and Crowds: The One Thing to Watch
The biggest complaint pattern is pace. One guest reported that the guide walked very fast, they lost track, and they ended up missing part of the tour. Another note suggested the pace and staying together is important during crowded areas.
Here is what you can do to protect your experience:
- Stay close at the front or where the guide stops frequently
- If you need a breather, say something quickly so the guide can adjust
- Use the map view and keep an eye on where you are, especially near big stations
If you are comfortable moving in busy places and you want active shooting time, you will likely love the energy.
If you prefer a slow stroll with no pressure, you might feel stressed.
Who This Tokyo Cyberpunk Photo Tour Fits Best
This tour fits best if you want night photos that look good without spending weeks learning from trial and error.
You will probably enjoy it most if:
- You love neon street scenes and want long exposure results
- You use a smartphone and want practical tips, not vague advice
- You enjoy a guide who gives feedback in real time
- You want a quick, structured evening route that covers the big hits
It is also a good fit for people who are visiting for the first night. One review mentioned the guide kept things steady even when it was a jet-lag kind of day, which tells you the tour is designed to function smoothly even if you are not fully awake yet.
If you want a deep cultural lecture or a long sit-down explanation, this is not that kind of tour. It is more about shooting technique and street practice.
Should You Book This One?
Book it if you want the practical side of night street photography. The strongest reasons are the combination of good locations, real instruction, and a small group size that makes feedback possible.
Skip it or consider another option if you hate fast walking or you know you struggle to keep up in crowds. Also, if you arrive late or get lost in Shinjuku Station, you can lose valuable shooting time, and the tour is time-structured.
If you do book, my final advice is simple: arrive early, keep up with the group, and ask questions when something feels off. The guides highlighted in reviews, including Charles and Lukasz, are the type who help you adjust settings and framing so your photos improve while you are still standing in the neon.
FAQ
How long is the Tokyo Cyberpunk Street Photo Tour?
It runs for about 3 hours, with descriptions of roughly 2.5 hours of photo time.
What time does the tour start?
The start time is 7:00 pm.
Where do you meet and where does the tour end?
You meet at Happy Lemon Keio Shinjuku Shop in Nishishinjuku, Shinjuku. The tour ends in Shibuya near Dogenzaka.
Can I use a smartphone for this tour?
Yes. The experience is designed for both a camera and smartphones, and the instructor provides guidance for capturing neon and night street scenes with either.
Is admission included for the stops?
The listed stops have free admission.
What is included in the price?
The included item is a professional photography instructor. Bus fare is not included, and the route description indicates you may pay for train transit on your own.
What is the refund policy?
The experience is non-refundable and cannot be changed for any reason. It requires good weather, and if it is canceled due to poor weather, you will be offered a different date or a full refund.
Someone Else Behind the Camera
Newest Tokyo write-ups from the Loving Japan desk
Photography Sessions, side by side.
 ★ 5.0Best Go Kart Experience in Shibuya Crossing with Iconic PhotosFrom $106348 reviews
 ★ 4.7Maiko Makeover and Photoshoot ExperienceFrom $140239 reviews
 ★ 4.8Tokyo Go-Karting Experience: Shibuya Crossing with PhotosFrom $90190 reviews
 ★ 5.0Private Photoshoot ServiceFrom $78158 reviews
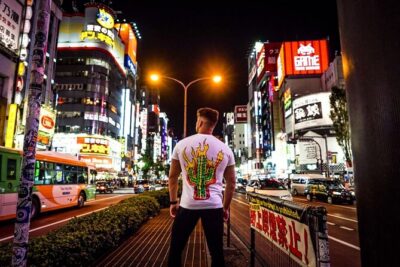 ★ 5.0Tokyo by Night Photography Tour (Private Option Available)From $105151 reviews
 ★ 5.0Tokyo Shinjuku Night Photo Tour with Pro GotaFrom $85142 reviews
 ★ 5.0[Okinawa Blue Cave] Snorkeling with Private Guide+ Free PhotosFrom $32127 reviews
 ★ 5.0Your Private Vacation Photography Session In KyotoFrom $297110 reviews
Filed on these lists too