
REVIEW · PHOTOGRAPHY SESSIONS
Tokyo Photography Masterclass – Private Photography Lesson
Tokyo teaches photography fast. And this private masterclass starts right in the middle of it, at Hachiko Statue in Shibuya. I love how the instruction is hands-on, walking and shooting as you learn, and how you get a personalized plan that can follow your interests instead of a fixed script.
The best part for me is the mix of creativity and technique. You work on composition skills like lines, repetition, texture, and angles, then you also get plain-English help with aperture, shutter speed, ISO, and focusing. One consideration: you will still need your own camera (it is not included), and you may want to consider renting a tripod if your goal is more serious night work.
In This Review
- Key highlights I’d plan around
- A private photo lesson that actually changes how you shoot
- Where it starts: Hachiko in Shibuya
- Shibuya street practice: composition you can use immediately
- Harajuku fashion and the art of finding angles
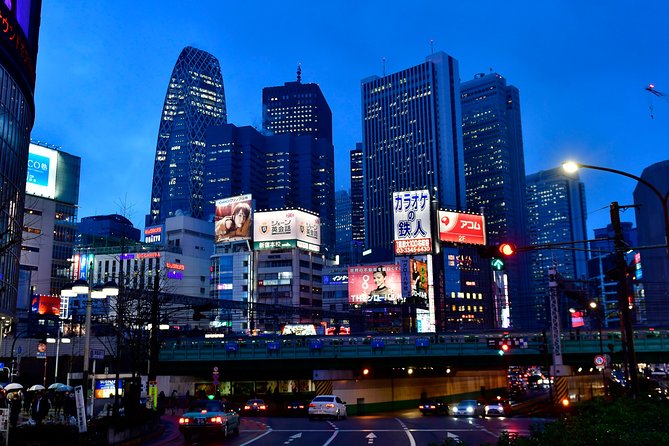
- Night photography options: Shinjuku neon or Asakusa quiet
- Senso-ji after dark: low-light focus tips that pay off
- The camera masterclass part: settings taught in plain language
- Reviewing your photography with Karl: what to do next
- Practical value: what you get for $190
- What to bring and how to prepare
- Should you book this Tokyo photography masterclass?
- FAQ
- How long is the Tokyo Photography Masterclass?
- Is this a private tour?
- What is included in the tour price?
- Do I need to bring my own camera?
- Where does the tour start and end?
- What camera topics does the lesson cover?
- Is the tour near public transportation?
- What is the cancellation policy?
- When do I get confirmation after booking?
Key highlights I’d plan around
- Private, tailored 3-hour lesson that adjusts to what you want to photograph
- Real instruction while you’re shooting (composition plus camera settings)
- Shibuya and Harajuku street learning tied to modern, high-energy scenes
- Night photo options in Shinjuku or quieter Asakusa, depending on what you pick
- Guides named Karl and a local teammate, so you get both camera help and Tokyo help
- You review your photography, not just take photos and hope
Someone else behind the camera. Other shoots
- Tokyo Ryogoku Sumo Morning Practice + Photo Shoot with Wrestlers
★ 4.5 · 277 reviews - Tokyo Cyberpunk Street Photo Tour
★ 5.0 · 165 reviews - Tokyo by Night Photography Tour (Private Option Available)
★ 5.0 · 151 reviews - Tokyo Shinjuku Night Photo Tour with Pro Gota
★ 5.0 · 142 reviews
A private photo lesson that actually changes how you shoot
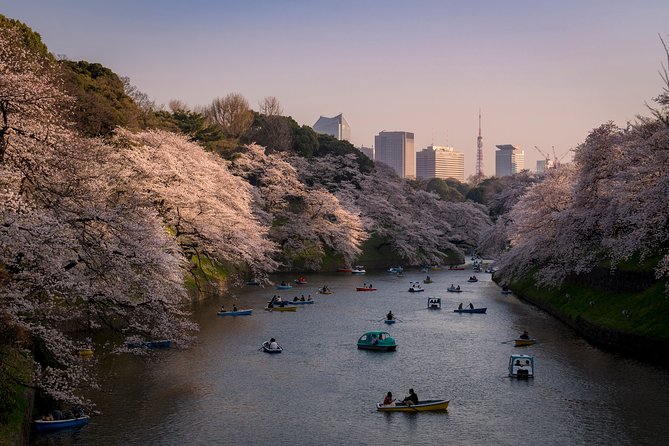
If you have ever felt like Tokyo is too much, in a good way, this kind of lesson helps you turn all that visual noise into something you can control. The tour is built for all levels, from first-time camera users to people who already know the basics and want the next step. That matters, because a lot of “photo tours” are really just sightseeing with a camera. Here, the goal is learning.
What also helps is the private format. Only your group joins, so you are not stuck watching another person’s questions while your own settings stay frozen in fear mode. And because the route can be shaped around what you want, you can focus on the scenes you care about most, whether that is the iconic pedestrian chaos or more calm, nighttime temples.
Where it starts: Hachiko in Shibuya
You begin at the Hachiko Statue at 2 Chome-1 Dogenzaka, Shibuya. It is a great starting point because it is a real Tokyo landmark, easy to orient around, and you can spot other photographers quickly. More importantly, it gives your guide a clean first moment to set expectations, explain what you will work on, and get you shooting without wasting time.
From there, you move on to street photo areas where the city’s shapes do half the job for you. Tokyo is full of graphic lines, repeated storefronts, patterned surfaces, and strong angles. Your guide uses that environment like a classroom. You are not just “going places,” you are learning how to see places.
Shibuya street practice: composition you can use immediately
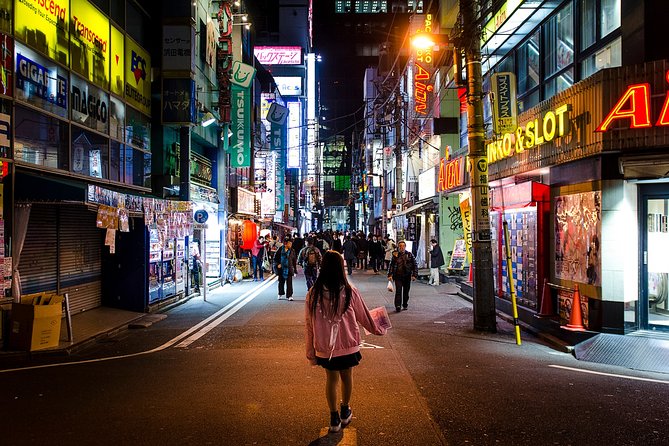
In a street-focused session, the big idea is learning composition through real scenes. Shibuya is perfect for this. You have strong subject separation, crowds that create layered foregrounds, and lots of geometric structure. It is also energetic enough to make it fun even when you are thinking about camera settings.
Here are the composition themes you work on, and why they matter in Shibuya:
- Lines: crosswalks, storefront edges, and overhead signage can lead the eye straight toward your subject.
- Repetition: repeated windows, stacked railings, and repeating fashion details help you make images that feel intentional.
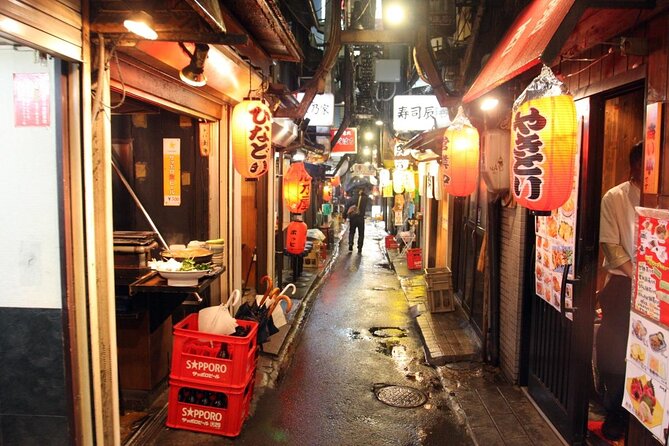
- Texture: pavement, walls, umbrellas, and clothing patterns turn a flat scene into a photo with depth.
- Angles: looking up, looking down, or framing through an object helps you escape the default tourist viewpoint.
You also learn to “sharpen your eye” for what to include. That is where a good photographer guide earns their keep. It is not only about taking a technically correct photo, it is about choosing the right subject, reading the light, and timing your shot in a place where everything moves.
- Mt Fuji and Hakone 1-Day Bus Tour Return by Bullet Train★ 5.0 · 26,383 reviews
- 1-Day Tokyo Bus Tour★ 5.0 · 14,250 reviews
- Tokyo: teamLab Planets TOKYO Digital Art Museum Entry Ticket★ 4.6 · 9,779 reviews
- Mt Fuji & Hakone Cruise, Drum Show Bullet Train 1 Day from Tokyo★ 4.0 · 7,413 reviews
- Tokyo Mt Fuji 5th St & Hakone Cruise Bus Tour w/Bullet Train★ 4.4 · 5,024 reviews
Harajuku fashion and the art of finding angles
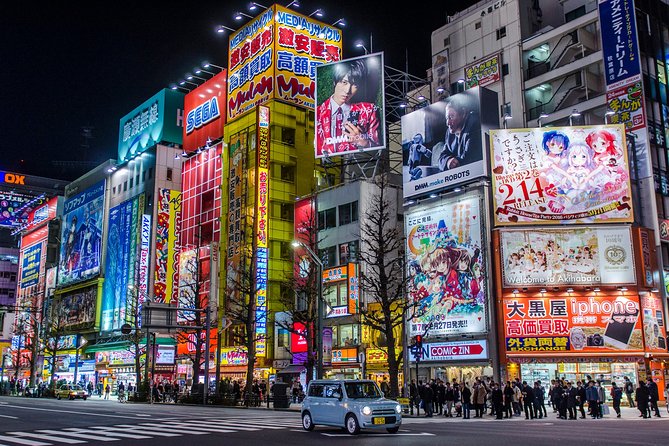
If your session includes Harajuku, you get a different kind of subject: people dressed for attention, street style, and a visual mix that changes fast. This is where composition becomes practical, because clothing is detail-heavy. You will want to focus on small decisions like:
- how to frame someone so you show their look without losing the context
- when to shoot wider for story and when to shoot tighter for texture
- how to use angle to avoid the boring straight-on look
This is also a good place for learning about lighting. Tokyo street light can be dramatic, even in daylight, thanks to signage glow and shade from buildings. You will practice identifying light direction and how it affects contrast, skin tones, and the mood of the photo.
A street fashion area can turn into chaos quickly, so having a guide helps you move efficiently. You get to shoot without wandering in circles, and you learn what to watch for rather than guessing.
Night photography options: Shinjuku neon or Asakusa quiet
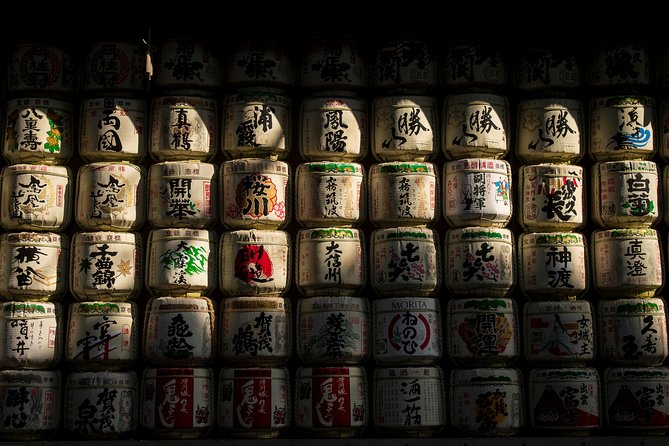
Tokyo night photography is where many people struggle. They know it looks amazing, but photos turn muddy, blurry, or too dark. This tour gives you a pathway through that problem. Depending on what you choose, you can head toward the futuristic, high-contrast energy of Shinjuku with neon lights and skyscrapers, or you can slow down around Asakusa to photograph the Buddhist temple area and quieter paths.
Why both options are valuable:
- Shinjuku rewards you with bold color and strong highlights, perfect for practicing exposure control.
- Asakusa helps you practice calmer framing and lower-contrast scenes, where details and atmosphere matter.
You also get a chance to photograph creative night effects, like car light trails against the futuristic backdrop. That is not just a cool output. It is a lesson in shutter speed and how to create motion intentionally instead of getting blur by accident.
The private format helps here too. If you want more neon, you can lean that way. If you prefer something more peaceful and meditative, you can take the calmer route.
Senso-ji after dark: low-light focus tips that pay off
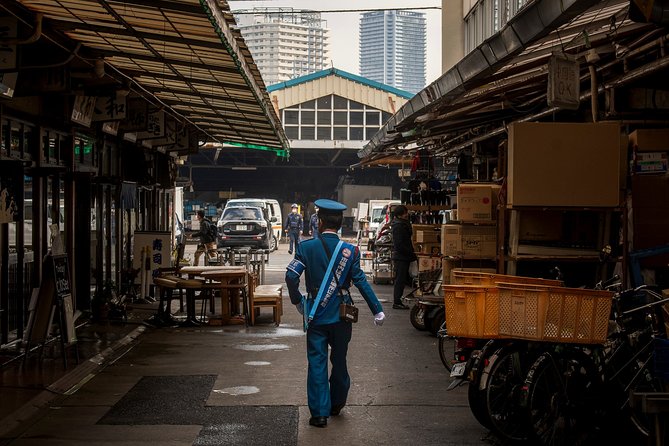
Senso-ji is one of those places where the atmosphere does a lot for you, especially after dark. For night shooting, the learning is usually about two things: exposure and focus. If your images are soft, too dark, or washed out, you lose the magic.
In this lesson, you work on the fundamentals that directly affect night temple photos:
- how aperture changes depth of field and how much of the scene looks sharp
- how shutter speed affects brightness and motion
- how ISO changes noise and how to keep it under control
- how focusing works in lower light, where autofocus can be less forgiving
Even if you are not a technical person, these ideas make sense when you can immediately test them in front of you. That is the key value of a private, guided session. You get the explanation, then you try it right away on real scenes.
The camera masterclass part: settings taught in plain language
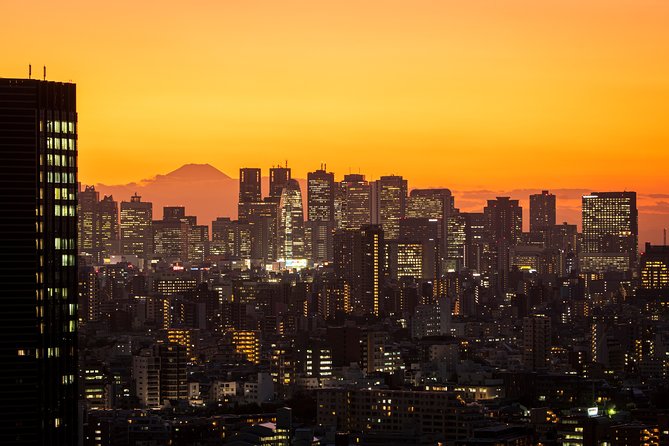
The tour does not only focus on where to stand. It also teaches how to drive the camera you already own. You cover the “big four” in photography:
Aperture, Shutter Speed, ISO, and focusing.
Here is what that means for your photos in Tokyo:
- If your backgrounds look messy, aperture helps you control subject separation.
- If your photos look too dark at night, shutter speed and ISO help you balance brightness.
- If your images feel out of focus, focusing technique and how you select focus points become the fix.
- If colors look off or noise is ugly, ISO strategy becomes your friend.
You also do composition practice like lines and angles, so your technical choices do not exist in a vacuum. You learn to set exposure based on the story you want in the frame.
And yes, you get to apply it while walking. That is important. Tokyo is not a studio. The goal is to make your learning usable while your subject and lighting change minute to minute.
Reviewing your photography with Karl: what to do next
One of the most effective parts of a lesson is feedback. This experience includes reviewing your photography, so you can connect what you learned to what you actually captured. In the reviews summary provided, the guide Karl comes up as an especially effective teacher, friendly and good at sharing knowledge clearly.
That review step matters because it turns the tour into a repeatable skill. Instead of thinking, Wow, I got some nice shots, you start thinking, next time I want stronger lines, so I will reframe earlier, or next time I want sharper night shots, so I will adjust focusing and ISO sooner.
You also leave with a better “subject and lighting” sense. That is the kind of improvement you can feel on day one of your trip and still use on your last day.
Practical value: what you get for $190
At $190 per person for about 3 hours, this is not a cheap activity. The value comes from concentration and personalization.
Here is what justifies the price:
- You get a professional photographer guide plus a local guide, so you get both camera instruction and local know-how.
- It is private, so your questions do not get sacrificed to the schedule.
- You get hands-on learning: composition, technical settings, and photo review.
- You can shape the tour around what you want, so you are more likely to get shots you actually care about.
What can reduce value for some people: you still need to bring your own camera. The tour does not include a tripod, and while a tripod can be rented, you may want it if night long-exposure photos are your goal. If you show up with a fixed phone camera and expect advanced controls, your guide can still help, but your options are limited by your gear.
Also, the tour ends back at the meeting point. That is convenient for planning dinner after, but it also means you need to commit to the lesson plan within the 3-hour window.
What to bring and how to prepare
This is one of those lessons where preparation helps. Based on what is included and not included, plan like this:
- Bring your camera and fully charged batteries.
- Bring memory cards with space for lots of practice shots, not just final images.
- If you want tripod work for night scenes, consider renting one.
- Wear comfortable shoes for city walking. The route can shift to chase your interests and best shooting moments.
If you have a lens you like for street or night, bring it. If you have settings you already understand, tell your guide at the start, and they can build from what you know.
Should you book this Tokyo photography masterclass?
Book it if you want your Tokyo photos to improve quickly, without guessing. This is a good fit when you want a plan you can follow in real time, learn camera settings you can use immediately, and get feedback through review. It is also a smart choice if you enjoy street energy like Shibuya and fashion scenes like Harajuku, or if you want structured night shooting for places like Shinjuku and Senso-ji.
Skip it or reconsider if your expectation is only scenic sightseeing with occasional tips. The core of this experience is instruction: composition, camera settings, and photo critique. Also, if you do not plan to bring your own camera, the lack of equipment included may make the value feel off.
Given the high satisfaction signal, a 4.8 rating with 96% recommendation from 25 reviews, I would treat this as a high-confidence option for learning Tokyo photography the practical way, one well-timed shot at a time.
FAQ
How long is the Tokyo Photography Masterclass?
It is approximately 3 hours.
Is this a private tour?
Yes, it is a private tour, and only your group will participate.
What is included in the tour price?
A professional photographer guide, a private tour, and a local guide are included.
Do I need to bring my own camera?
Yes. The camera is not included. A tripod is also not included, but it may be available to rent.
Where does the tour start and end?
The tour starts at the Hachiko Statue in Shibuya and ends back at the meeting point.
What camera topics does the lesson cover?
You will cover composition techniques and learn about aperture, shutter speed, ISO, and focusing. You also review your photography.
Is the tour near public transportation?
Yes, it is near public transportation.
What is the cancellation policy?
You can cancel for a full refund up to 24 hours in advance.
When do I get confirmation after booking?
Confirmation is received at the time of booking.
Someone Else Behind the Camera
Newest Tokyo write-ups from the Loving Japan desk
Photography Sessions, side by side.
 ★ 5.0Best Go Kart Experience in Shibuya Crossing with Iconic PhotosFrom $106348 reviews
 ★ 4.7Maiko Makeover and Photoshoot ExperienceFrom $140239 reviews
 ★ 4.8Tokyo Go-Karting Experience: Shibuya Crossing with PhotosFrom $90190 reviews
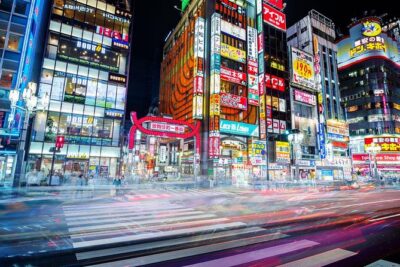 ★ 5.0Tokyo Cyberpunk Street Photo TourFrom $184165 reviews
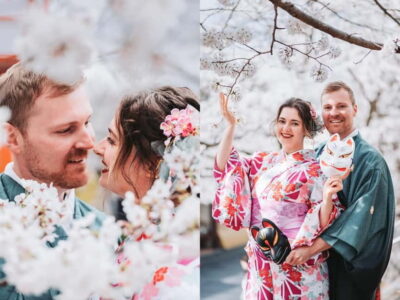 ★ 5.0Private Photoshoot ServiceFrom $78158 reviews
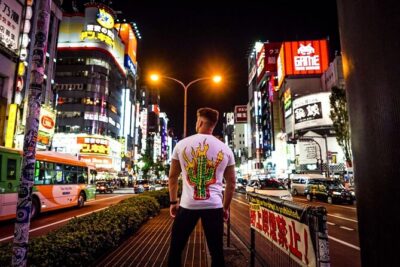 ★ 5.0Tokyo by Night Photography Tour (Private Option Available)From $105151 reviews
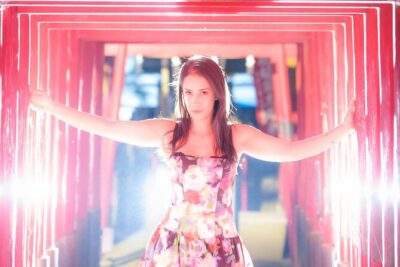 ★ 5.0Tokyo Shinjuku Night Photo Tour with Pro GotaFrom $85142 reviews
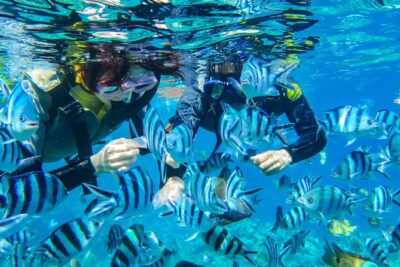 ★ 5.0[Okinawa Blue Cave] Snorkeling with Private Guide+ Free PhotosFrom $32127 reviews
Filed on these lists too