
REVIEW · KIMONO AND YUKATA RENTAL
Kyoto Portrait Tour with Kimono
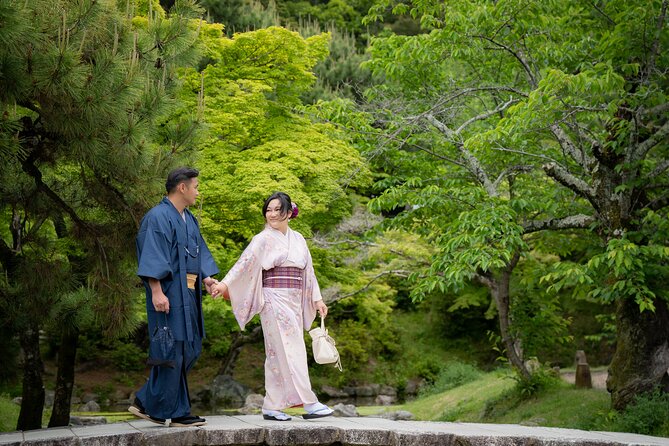
A morning or afternoon portrait plan is a win. This 1.5 hour Kyoto photo walk mixes major sights with quieter backstreets, then finishes with photos you can actually use. You also get flexibility in lighting and a choice of session time, plus a calm group size that helps you slow down for pictures.
I like how the route starts in iconic places like Yasaka Shrine, then moves into gentler scenes like Maruyama Park and Ishibe Alley. I also like that you are guided through posing and photo angles, and you end at Hokan-ji, Yasaka Pagoda, for a strong final backdrop.
One consideration: the kimono is not included, so you will want to sort that out in advance and be realistic about how quickly you need to dress, walk, and shoot. With a tight schedule, any delays show up fast.
In This Review
- Key points I’d center in your planning
- A Kyoto portrait shoot with real structure, not random wandering
- Price and what you really get for $85.87
- Meeting at Yasaka Jinja Nishiromon Gate, then walking to your final pagoda shot
- Yasaka Shrine: the classic Kyoto start you can photograph in kimono
- Maruyama Park: garden pacing and calmer photos
- Chion-in Temple and the Sanmon Gate: size you can feel in photos
- Ishibe Alley: a short hit of traditional lanes
- Nene-no-Michi: stone path portraits with seasonal color potential
- Yasakanoto, the Yasaka Pagoda finish: the hero shot to wrap it up
- Kimono choice is part of the results, but it is on you
- Guides and posing: why the small group matters
- What the professionally edited photos add
- Common pitfalls to avoid before you meet at Yasaka
- Should you book the Kyoto Portrait Tour with Kimono?
- FAQ
- How long is the Kyoto Portrait Tour with Kimono?
- Where do you meet for the tour?
- Where does the tour end?
- Is the kimono included in the price?
- What is included in the tour price?
- Do you need an admission ticket for the stops?
- How many people are on each tour?
- Can I choose the session time?
- What is the cancellation policy?
Key points I’d center in your planning
- Small group size (max 6) keeps the photographer focused on your shots, not everyone else’s
- Morning or afternoon sessions let you choose the lighting mood for shrine gates, gardens, and pagoda silhouettes
- Pro edited photos mean you are not stuck with blurry, half-good travel phone shots
- A mix of famous and calmer spots helps you get variety without feeling like you only see crowds
- Multiple stops in a short time is efficient, but you need to arrive ready to go
Rental shops we have actually walked into
- Kimono Tea Ceremony at Kyoto Maikoya, NISHIKI
★ 5.0 · 911 reviews - Kyoto: Kimono Rental with Hairstyling and Accessories
★ 4.8 · 653 reviews - Kyoto: Kimono Tea Ceremony at Orizuruya Gion
★ 4.9 · 618 reviews - KYOTO Tea Ceremony with kimono near by Imamiya Jinjya Shrine
★ 5.0 · 343 reviews
A Kyoto portrait shoot with real structure, not random wandering
Kyoto can be a photography trap. You plan to walk around, and suddenly you are behind schedule, everyone’s taking turns, and your best outfit spends more time waiting than posing.
This tour solves that by giving you a clear photo route and a photographer who knows where to stand. You are not just moving between landmarks, you are getting coached, positioned, and guided so the pictures look intentional. The small group helps a lot. When there are up to 6 people, you spend more time shooting and less time waiting your turn.
It also makes sense that the experience can run in the morning or afternoon. In Japan, the light changes fast, and Kyoto’s stone, wood, and paper lantern tones can look totally different depending on the hour. If you care about how your kimono looks in photos, this matters more than you think.
Price and what you really get for $85.87
At $85.87 per person for about 1 hour 30 minutes, you are paying for three things: a guided route, professional shooting direction, and professional editing after.
That is not cheap for a walk, but it becomes easier to justify if you want Kyoto portraits you would actually share. Phone photos in Gion and around Yasaka Shrine are tough, especially in kimono, where you need both good angles and gentle pacing. Here, you get both a plan and editing.
Also, this is booked about 52 days in advance on average. That is a hint it is popular, likely because it is a simple way to get high-quality results without doing advanced planning yourself.
If you want a low-cost experience and you are comfortable directing your own photos, you can DIY. If you want less stress and more payoff, this price starts to make sense.
Meeting at Yasaka Jinja Nishiromon Gate, then walking to your final pagoda shot
The meeting point is Yasaka Jinja Nishiromon Gate (Western Tower Gate) at 625 Gionmachi Kitagawa, Higashiyama Ward, Kyoto, 605-0073. You finish at Hōkan-ji Temple (Yasaka Pagoda) in Higashiyama Ward, 清水八坂上町388.
You get a mobile ticket, which keeps things simple. Since this is near public transportation, you can build your day around transit without needing a car.
What matters most is timing. This is a quick 1.5-hour format with short stops, so you should show up ready. If you are in a kimono, dressing delays can eat the schedule before you even start.
- PERFECT KYOTO 1-Day Bus Tour★ 5.0 · 13,518 reviews
- Kyoto: Fushimi Inari, Kinkakuji, Bamboo Grove 1 Day Bus Tour★ 4.8 · 4,316 reviews
- Kyoto: Tea Ceremony in a Traditional Tea House in Kiyomizu★ 4.9 · 3,519 reviews
- Kyoto Geisha Walking Tour: Gion District & Hidden Gems★ 4.7 · 3,273 reviews
- Kyoto: Tea Ceremony Ju-An at Jotokuji Temple★ 4.9 · 3,207 reviews
Yasaka Shrine: the classic Kyoto start you can photograph in kimono
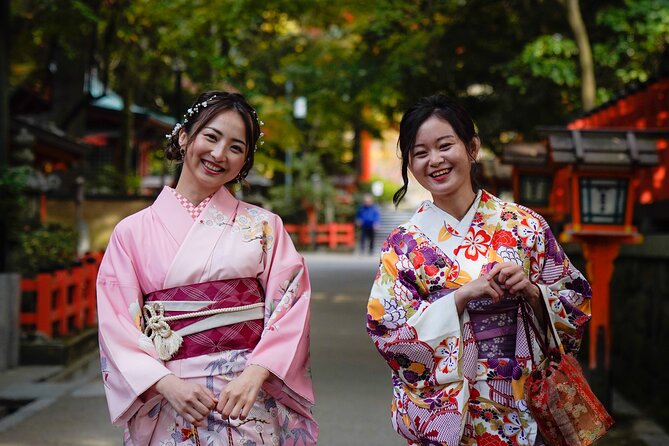
Stop 1 is Yasaka Shrine, with about 20 minutes and free admission.
This is a smart opening. It is recognizable, photogenic, and it sets the tone right away with traditional shrine vibes. If you are wearing a kimono and you want the photos to feel Kyoto-first, Yasaka Shrine delivers that instantly.
Photo tip for this kind of stop: don’t rush your first shots. A good photographer will usually start by getting you framed against the shrine setting before moving into tighter compositions. You also want to stand still enough that your kimono colors and texture show clearly, not like a “walking blur” moment.
A possible drawback: this area can be busy. The tour’s small group and the photographer’s know-how help, but if you hate crowds, you might feel it a bit during the first minutes.
Maruyama Park: garden pacing and calmer photos
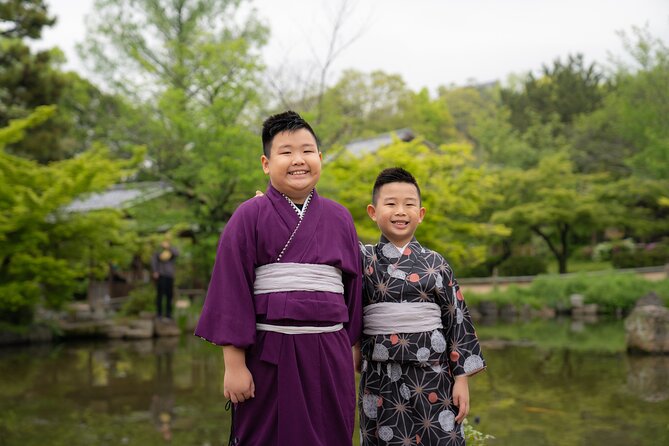
Stop 2 is Maruyama Park, about 20 minutes, free admission.
Maruyama Park is the oldest park in Kyoto, and it can look especially good in early April during cherry blossom season. Even if you are not there in peak bloom, the park’s traditional garden style gives you a softer background than streets and gates.
This stop is valuable because it breaks up the hard edges of temples and shrines with greenery and more natural compositions. You get a chance for portraits that feel quieter and more balanced.
The only catch is seasonal expectation. The cherry blossom payoff is seasonal. If you are visiting outside bloom times, you will still get garden scenes, but the “wow, full of sakura” moment may be less dramatic.
Chion-in Temple and the Sanmon Gate: size you can feel in photos
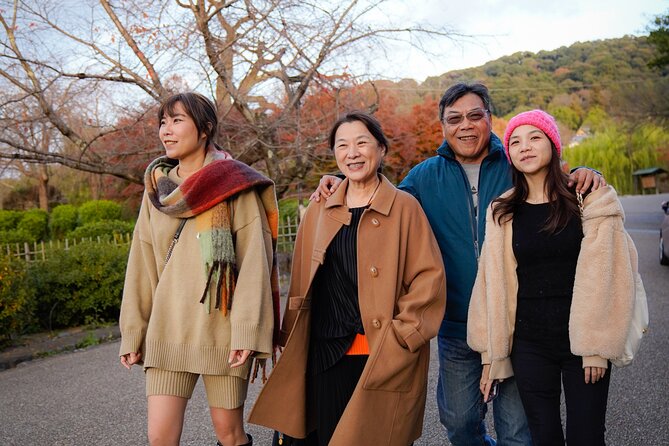
Stop 3 is Chion-in Temple, about 20 minutes, free admission. The highlight here is the Sanmon Gate, the main entrance gate, which is listed as 24 meters tall and 50 meters wide, described as the largest wooden temple gate in Japan.
In real life, that kind of scale changes how you frame photos. Your photographer’s job is to position you so the gate looks impressive behind you without making you look tiny. That is not easy if you are self-directing.
This stop is also where you can get history and context without turning the trip into a museum lecture. You will learn enough to add meaning to what you are photographing.
Potential drawback: because it is a big wooden gate, it can create strong contrasts. If you are in bright daylight, you may need shade and angle management to avoid harsh shadows on your face. The session time (morning or afternoon) helps here.
Ishibe Alley: a short hit of traditional lanes

Stop 4 is Ishibe Alley, about 10 minutes. Admission ticket is not included.
This is where you get atmosphere. The alley is surrounded by traditional architecture, and it is designed for that Kyoto feel you can’t replicate with modern streets.
Ishibe Alley is brief, which is both a plus and a minus. Plus, you don’t get stuck somewhere you don’t love. Minus, if you want a long photoshoot here, 10 minutes may feel tight.
Since the admission ticket is not included, you might need to cover it on your own. The good news is the stop is short, so the cost will likely not derail your day.
Nene-no-Michi: stone path portraits with seasonal color potential
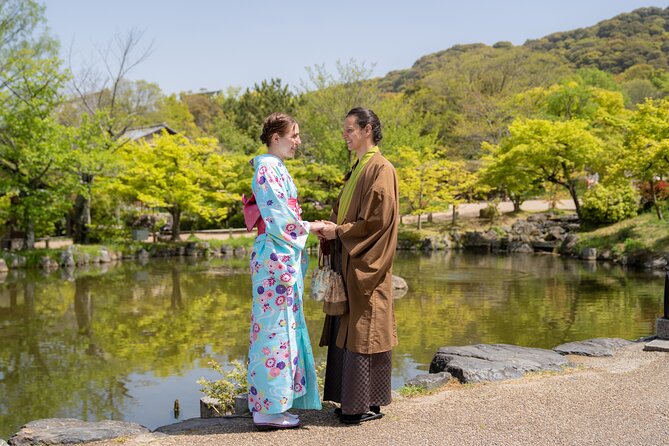
Stop 5 is Nene-no-Michi (Nene Road), about 10 minutes, free admission.
This is a flagstone walkway guided by your route, and it can be especially strong in autumn when red leaves appear. The walk also connects you to the area near Kodai-ji, and it carries an atmospheric vibe because many people pass through nearby.
This stop is valuable because it offers clean lines. Flagstone paths naturally lead the eye through your photo, which helps portraits look more “composed” and less like snapshots.
Practical note: stone walkways can reflect light. If you are shooting in strong sun, expect bright highlights. If it is autumn and the leaves are out, that color can soften the contrast a lot.
Yasakanoto, the Yasaka Pagoda finish: the hero shot to wrap it up
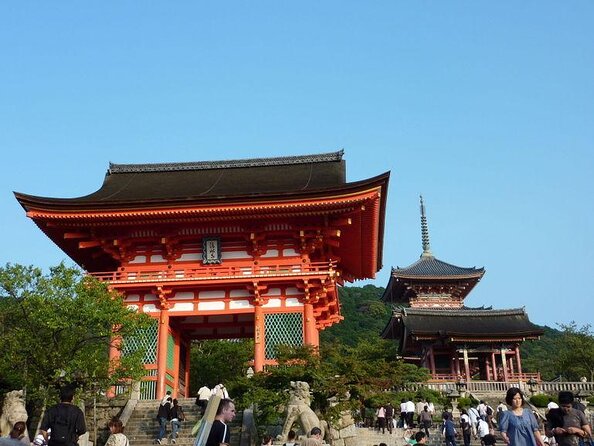
Stop 6 is Yasakanoto, also known as Yasaka Pagoda, about 10 minutes. Free admission.
This is described as a recognizable “five storied pagoda,” and it is one of the most recognizable Kyoto landmarks in this finishing stretch. The tour focuses on taking pictures with the pagoda, and you end with travel tips around the area in front of the pagoda.
This final stop works because it gives you a clear concluding image. Even if your earlier photos vary in style, the pagoda backdrop gives your set a strong Kyoto signature.
One consideration: because you finish there, you want to make sure your outfit, hair, and accessories are not in full “end of the day” condition. If you are careful, your last photos can look like the best ones.
Kimono choice is part of the results, but it is on you
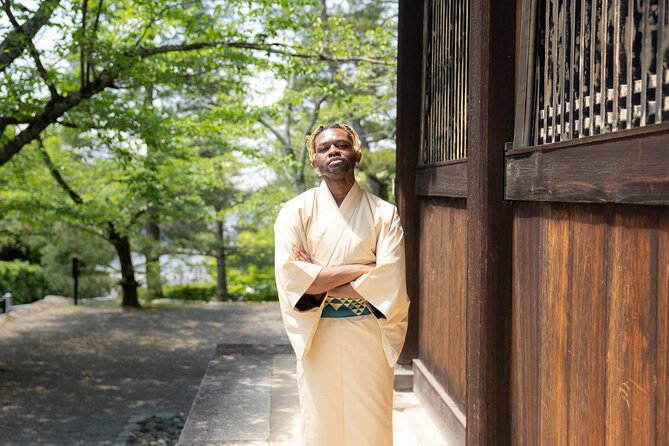
The tour lets you choose your kimono (not included) from your preferred store. That flexibility can be great because kimono style changes the final look of your photos: pattern scale, color tone, and how the fabric catches the light.
But it is also a planning responsibility. You will need to coordinate time to pick up, dress, and be ready at the meeting gate in Gion area. Since the tour is tight at about 1 hour 30 minutes, you do not want a slow kimono start to squeeze your photo time.
If you are traveling solo, a kimono portrait shoot can feel intimidating without help. The tour format is helpful in that scenario because the photographer handles posing guidance and shooting. It takes the pressure off you and gives you better results than trying to time self-portraits in a busy shrine zone.
Guides and posing: why the small group matters
Many guides are local professionals in this kind of portrait work, and you will likely get that hands-on coaching. Names that show up include Yuta, Takuma, Mina, Cocoro, and Soma. Different people have different styles, but the common thread is patience and active direction.
From the way people describe the experience, a big part of the value is how the photographer helps you pose. If you have never done a photo shoot before, that coaching can turn the whole thing from awkward to comfortable quickly.
The small group size also helps if you are late. One guide was described as working quickly to take lots of photos while keeping the mood fun. That is exactly what you want if your train gets messy.
A practical tip from this style of tour: listen to the photographer’s positioning. If they ask you to wait while someone passes, it is usually to protect your background from distractions and keep your kimono clean.
What the professionally edited photos add
Your included benefit is professional editing plus the guide. Editing is where a good shoot becomes great for Instagram and real albums.
A couple of comments point to the pace and volume of delivery, including cases where people expected more than 60 photos. Others also highlighted responsiveness after the tour and quick availability. The exact number can vary, but the key is that you are not left with raw images and a phone battery warning.
If you care about getting usable photos, this is one of the best reasons to pay for a portrait tour. Kyoto is full of good-looking corners, but “good-looking corner plus bad lighting plus awkward framing” equals disappointment. Editing fixes a lot of that.
Common pitfalls to avoid before you meet at Yasaka
Here are the most predictable issues with this kind of shoot, and they are easy to prevent.
First, kimono timing. If you get dressed late or your shoes need adjustment, your photo time compresses fast.
Second, assuming you can do it all with one pose. This route uses multiple backdrops, so you should expect to change stance, angle, and facial expression. Your photographer will guide you, but you still need to be willing to move and try.
Third, crowd expectations at the start. Yasaka Shrine and the surrounding area can be busy. The best approach is to accept that you are walking through a popular zone while your guide times shots for you. The small group makes that more manageable.
Should you book the Kyoto Portrait Tour with Kimono?
Book it if you want Kyoto portraits with less guesswork. This is ideal for solo travelers who need someone to direct posing and take photos, couples who want coordinated shots, and anyone who wants a structured mini-walk instead of wandering and hoping for good light.
Consider passing if you are on a strict budget and you mainly want casual photos from famous places. You can DIY around Yasaka Shrine and the Gion area, but you will trade away guidance, photo angles, and professional editing.
My take: this is good value when you treat it as a portrait service, not just a walk. For around an hour and a half, you get multiple Kyoto backdrops, a small-group experience, and a finished set of professionally edited images. That is a practical way to make Kyoto look like Kyoto, and to make your photos actually worth keeping.
FAQ
How long is the Kyoto Portrait Tour with Kimono?
It runs for about 1 hour 30 minutes.
Where do you meet for the tour?
You start at Yasaka Jinja Nishiromon Gate (Western Tower Gate), 625 Gionmachi Kitagawa, Higashiyama Ward, Kyoto.
Where does the tour end?
You finish at Hōkan-ji Temple (Yasaka Pagoda), in Higashiyama Ward, 清水八坂上町388.
Is the kimono included in the price?
No. The kimono is not included, and you choose your kimono from your preferred store.
What is included in the tour price?
You get a guide and professionally edited photos.
Do you need an admission ticket for the stops?
Most stops are listed as free admission. Ishibe Alley has an admission ticket not included.
How many people are on each tour?
There is a maximum of 6 travelers per tour.
Can I choose the session time?
Yes. There are morning or afternoon sessions, so you can pick your preferred lighting and time of day.
What is the cancellation policy?
You can cancel for a full refund if you cancel at least 24 hours in advance of the experience start time.
Rental Counters, Compared
Newest Kyoto write-ups from the Loving Japan desk
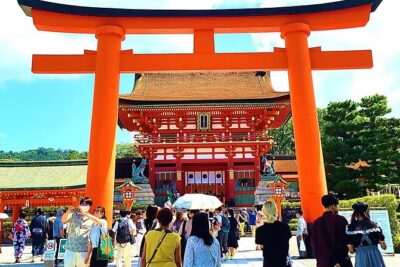
Kimono and Yukata Rental, side by side.
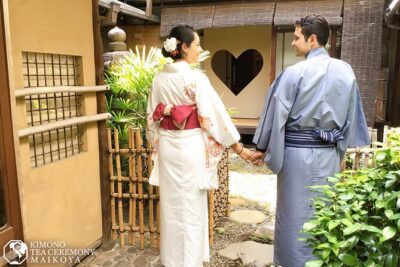 ★ 5.0Kimono Tea Ceremony at Kyoto Maikoya, NISHIKIFrom $65911 reviews
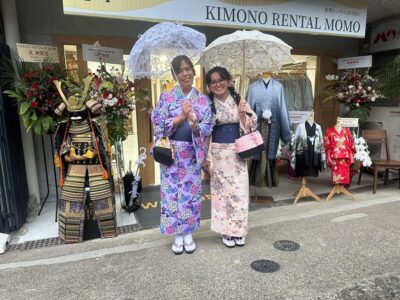 ★ 4.8Kimono Rental with Hairstyling and AccessoriesFrom $21653 reviews
 ★ 4.9Kimono Tea Ceremony at Orizuruya GionFrom $49618 reviews
 ★ 4.5Sumo Show & Experience w/ Optional Kimono & Hot PotFrom $77609 reviews
 ★ 5.0KYOTO Tea Ceremony with kimono near by Imamiya Jinjya ShrineFrom $99343 reviews
 ★ 4.3Kimono and Tea Ceremony Experience at Cultural AssetFrom $222306 reviews
 ★ 4.7Traditional Kimono RentalFrom $25265 reviews
 ★ 5.0Let’s make kimono !(Kimono is a gift for youFrom $43252 reviews
Filed on these lists too